Basic Candle Safety
- Never burn a candle that is not within sight.
- Keep candles out of the reach of children and pets.
- Keep burning candles away from drafts, vents, ceiling fans and air currents.
- Never touch or move a candle when the wax is liquid.
- Never burn a candle directly on or near anything flammable.
- Always use a candleholder specifically designed for candle use.
- Be sure the candleholder is placed on a stable, heat-resistant surface.
- Keep the wax pool free of wick trimmings, matches and debris at all times.
- Trim candlewicks to one quarter inch each time before burning.
- Make sure all candles are completely out before leaving the room.
- Straighten the wick after it has been extinguished.
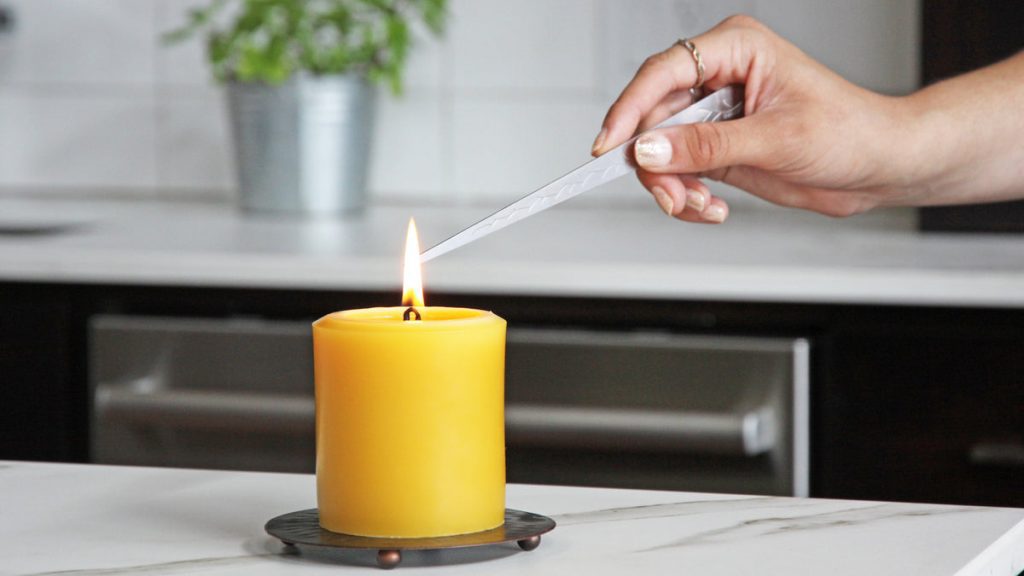
Lighting the Candle
Your candle is prepped and ready to burn.
Whether you use a match or a lighter, it is best to light the candle at the base of the wick rather than the tip to get the wax flowing. Lighters generally work best as beeswax burns hot and a lighter generally produces more heat required to start the beeswax flowing in the wick.
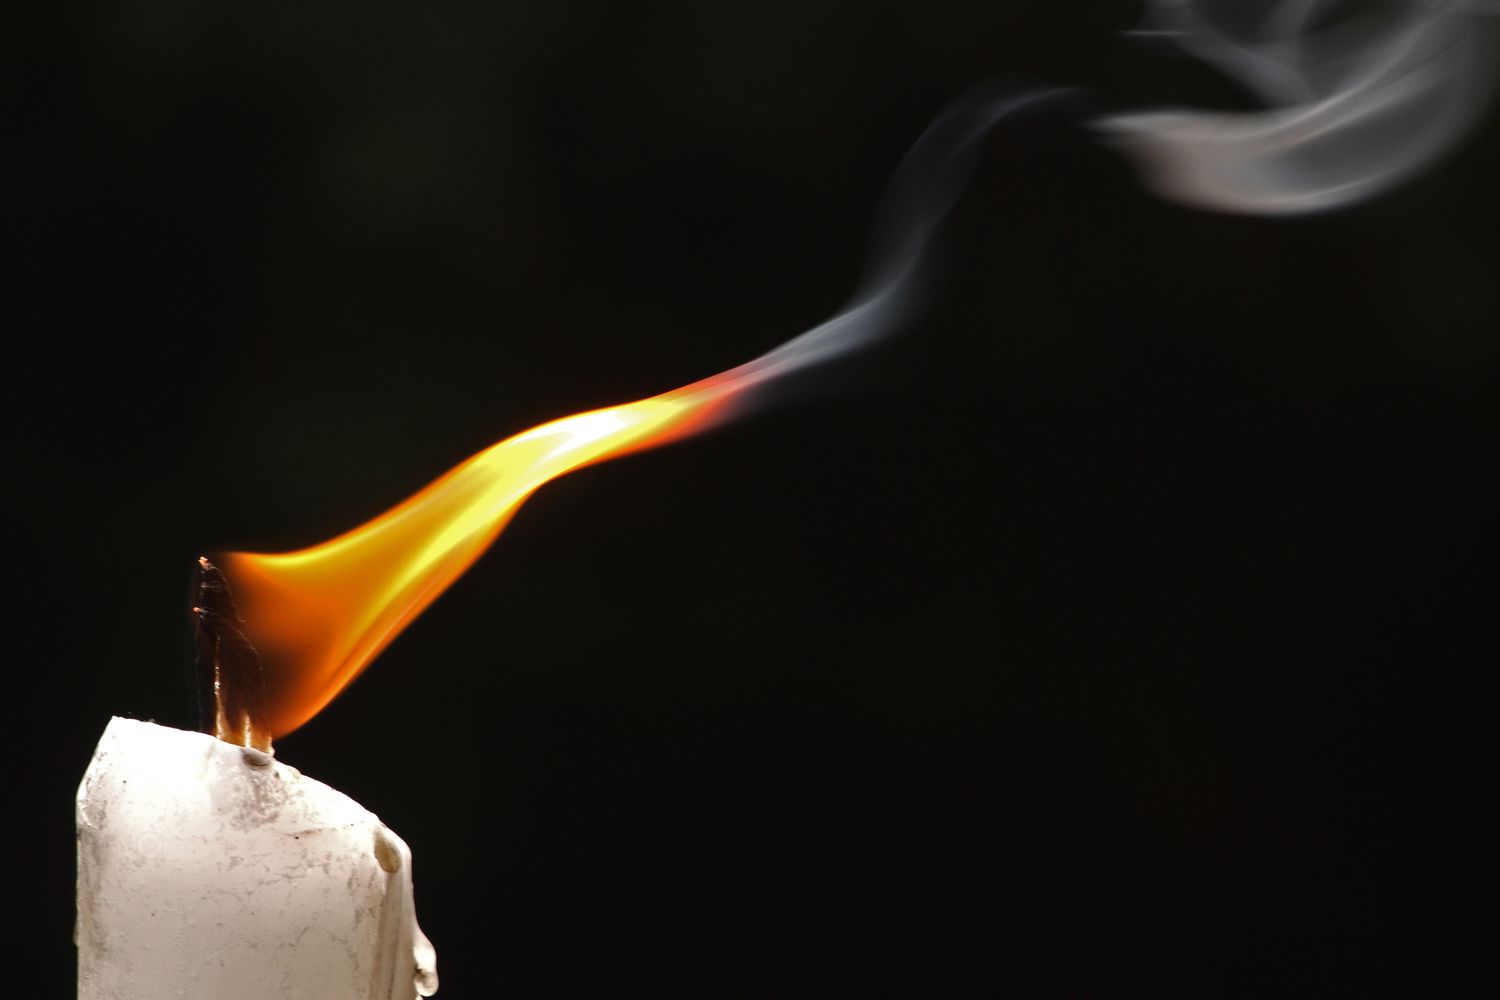
Maintain the Flame
Under most conditions our candles are dripless. All candles are sensitive to air movement and may start to flicker and smoke if exposed to drafts. When a flame flickers, the candle may drip. If your candle drips, extinguish it, remove it from any drafts, and relight it. Forced air furnaces, ceiling fans and movement around the candle all create drafts.
Depending on the type of candle you are burning, you may have to trim the wick periodically. Extinguish your candle and trim the wick if:
- The flame is flickering and/or smoking
- The flame is large and loses its teardrop shape
- A carbon cap develops
- The wax pool gets too close to the edge of the candle
Keep it Clean
You should never leave matches or trimmed pieces of wick in the candle. The debris can act like an additional wick causing your candle to burn too hot. A flame that is close to the edge can also cause wax to spill out and run down your candle making a mess.
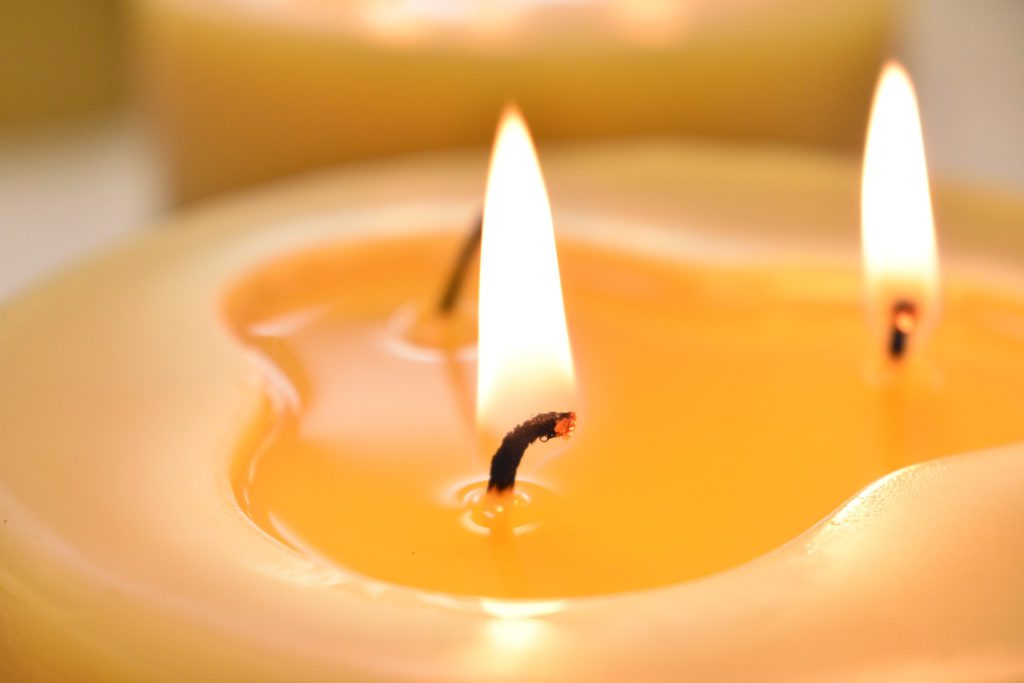
Extinguishing your candle
Extinguish Pillars and larger diameter candles by dunking the wick into the melted wax and straightening it again. Make sure to center the wick for an even burn. This eliminates smoking and guarantees an easy relight. Wick Dippers are the perfect tool for the job but you can also improvise using a straightened paperclip or butter knife.
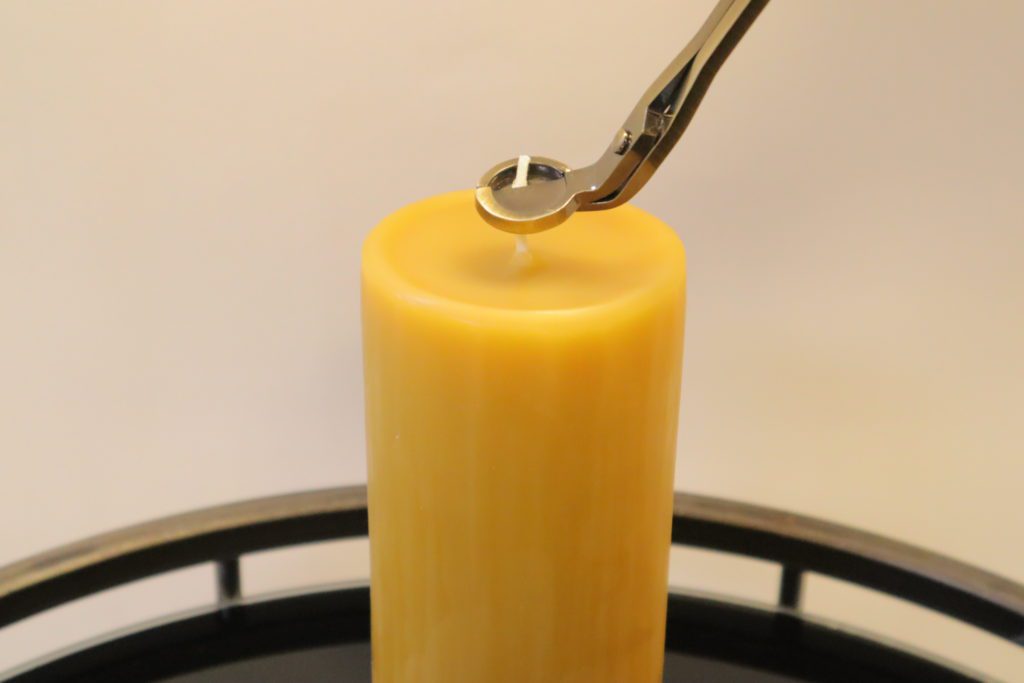
Candlesticks, Votives, and Tea lights should be snuffed out with a smokeless Wick Snuffer. If tea lights are extinguished when they are less than half consumed then they may not burn completely upon relighting.
Burning Tips Based on Candle Type

Container Candles
You can use the General Safety and Burning Tips listed above. Keep the wick trimmed to 1/4″. Our 8 oz. glass containers need a minimum burn time of 2 hours per session. Our 16 oz. glass containers need a minimum burn time of 3 hour per session.
Wax Will Remain
The container may have some remaining unused beeswax after the wick has been fully burned. This is normal.
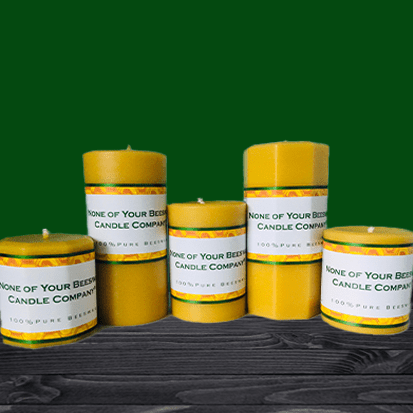
Pillar Candles
Use a Pillar Plate. Pillars may be burned free standing on a level and solid heat resistance surface. However, we recommend using a pillar plate or pillar holder when burning solid pillar candles to keep your surfaces free of any accidentally spilled wax.
Burn Pillars for Extended Periods of Time
Burn pillars roughly 1 hour per inch in diameter (e.g. 3″ pillar should be burned for at least 3 hours per session.) Burning for extend time ensures that the wick burns the candle evenly out to the edge. This also helps to avoid tunneling and relighting issues.
Hug Your Beeswax Candles
Occasionally it is necessary to gently press the edges of the candle towards the center of the candle to ensure that all of the beeswax burns properly. Do this carefully as your candle is burning or immediately after extinguishing it.
Not for Use in a Hurricane Container
Our beeswax pillar candles are not recommended for use in a hurricane glass or other tall walled containers. Beeswax has a high melting point and burns at a hotter temperature than other waxes; using a hurricane container creates a convection effect by both disturbing the air flow around the candle (causing smoking wicks that burn too fast) and retaining extra heat inside the glass (causing dripping and eventually the pillar walls to collapse).
Tunneling
Tunneling is both desirable and undesirable, depending on your preference. We have designed our beeswax pillar candles to burn as efficiently as possible without tunneling and very little maintenance on your part. To avoid tunneling, simply periodically hug your candles while burning (see note on hugging your beeswax candle).
A tunneled beeswax candle has a beautiful glow to it, where the flame glows through the thin outer wall of beeswax while burning. We do not recommend it, but if you want your candle to tunnel, simply do not hug your candles, though the pillar walls may become weak and hug on their own. Please be aware lighting the wick may become difficult if the pillar walls become too high.
Keep the Wick Trimmed to 1/4″
It’s important to trim the wick during or immediately after burning your candle. The wick itself becomes potentially fragile when cooled due to the amount of beeswax still remaining in the wick. Trimming a cold wick may break the wick off, making relighting it difficult.
Fix Too-Thin Pillar Walls
If your pillar does drip or melt through its side, generally due to too large of a flame, extinguish the candle and let it harden before relighting it. Avoid moving the pillar while the beeswax is cooling.
Fix Too-Thick Pillar Walls
If your pillar develops a thick wall, generally due to not burning long enough each burning session, carefully cut the wall down to the level of the wax pool inside. This must be done when the wax pool is hardened. We recommend using a heated craft knife found at most hobby stores. Caution is advised.
How to Relight a Beeswax Pillar
The best way to relight your beeswax pillar candle is to hold the flame to the base of the wick for 5 to 10 seconds (a lighter works best). This will ensure all of the hardened beeswax in the wick is melted. This allows the wick to now pull newly melted beeswax from the candle and burn properly.
The Wick Will not Stay Lit
If your pillar doesn’t stay lit it could be one of two main causes. First, it may be that the flame you’re using to light the wick isn’t large enough. Because the wick for a beeswax candle is thicker than most other candles a large flame is needed to melt the wax in and directly around the base of the wick in order to get the wax flow started.
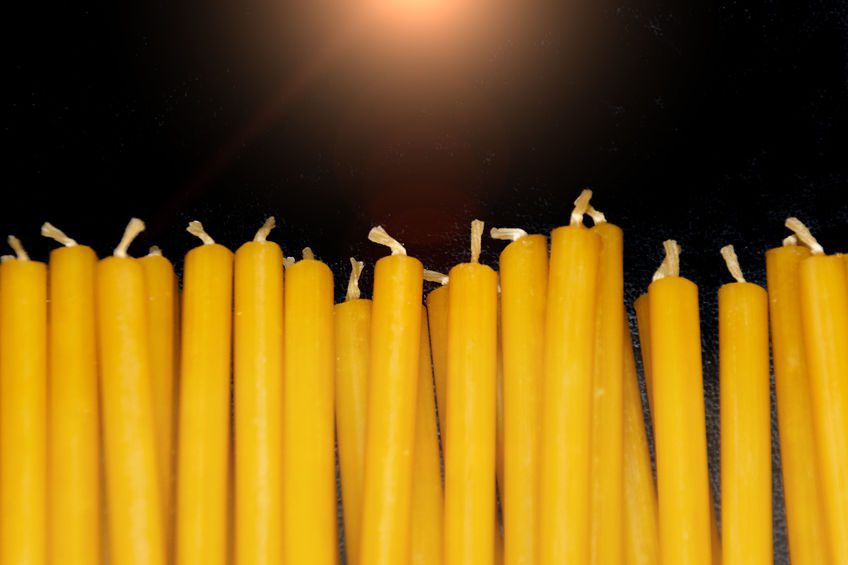
Taper Burning Tips
Use a Taper Holder
Tapers should always be securely placed in a taper holder when burning.
Draft Free
For a dripless taper, burn in a draft free environment.
Drip Free Wick Maintenance
Before lighting the first time, trim the wick to 1/4″. Before relighting you may trim the very tip of the wick to remove any particles gathered in the wick. The wick generally trims itself as it burns. Trimming the wick too short may cause the candle to drip (it burns and melts the delicate side wall which contain the wax pool).
Properly Extinguish a Beeswax Taper Candle
Keep Tapers Vertical
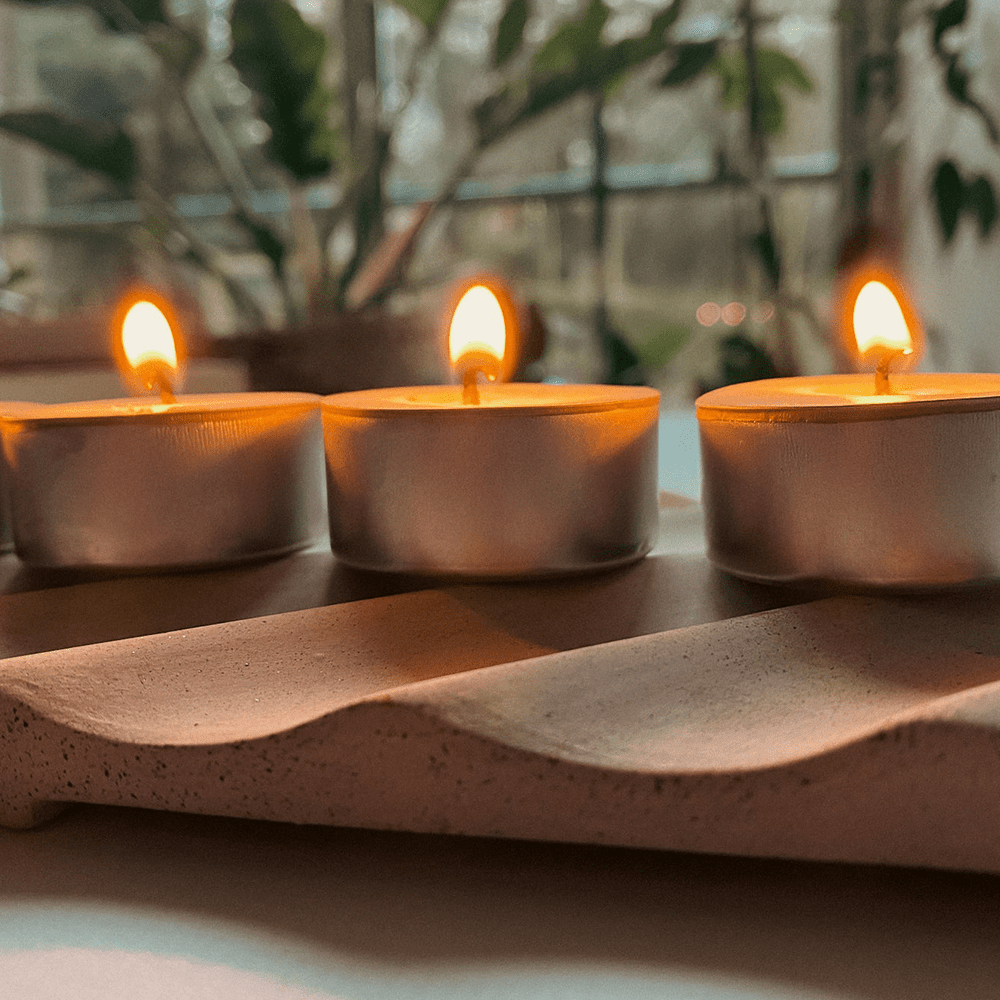
Tea Light Burning Tips
Burn Tea Light Candles in Their Cups
We also recommend putting the tea light cups inside a tea light holder. Regardless if the tea lights cups are in a holder or not, they must be burned on a level and heat resistance surface because the cups become hot when burned.
Burn Tea Light Candles in One Session
Burn tea lights for 1 hour or more per session, long enough so the wax melts out to the side of the tea light cup. Ideally a beeswax tea light candle will burn best if left to burn entirely during one session; this will help achieve its maximum burn time.
If the tea light candle has already used up more than half of its wax, let it burn out completely as you will not be able to relight it if you extinguish it.
Keep the Wick Trimmed to 1/4″
It’s important to trim the wick during or immediately after burning your candle. The wick itself becomes potentially fragile when cooled due to the amount of beeswax still remaining in the wick. Trimming a cold wick may break the wick off, making relighting it difficult.
Properly Extinguish a Beeswax Tea Light Candle
The easy and smoke free way to extinguish tea light candles is to gently push the wick into the wax pool until the candle is extinguished and then pull the wick straight. Avoid handling the wick after it is cooled as it may break.
Keeping the Wick Lit
If your tea light wick has gotten too short try to expose fresh wick by melting the wax around the wick and pouring it off, or warming the wax and gently digging wax out from around the wick. Once fresh wick is exposed be sure to burn the candle for an hour or more to get the candle back in balance.
Votive Burning Tips
Use a Votive Holder
Votive candles need to be burned in a properly sized votive holder. A votive candle is unable to contain its own wax pool when burning. The sides of the votive holder are used to contain the beeswax as it burns. Ensure your votive holder is as close fitting to the votive as possible. Most standard votive holders sold in the US today will work fine (inside diameter roughly 1 7/8″ to 2″). If your votive holder is too large (i.e. a total gap larger than 1/2″) the votive will not be contained properly as it burns and may result in the votive sides leaking and spilling down to the bottom of the votive holder.
Prepare Your Votive Holder
Placing a small amount of water (about a teaspoon) in the bottom of the votive holder will make it easy to remove any remaining beeswax once the candle has burned out and cooled. Place the votive holder on a level heat resistant surface.
Burn Votives for Extended Periods of Time
Burn votives for 1 hour or more per session, long enough so the wax melts out to the side of the votive holder. Ideally a beeswax votive candle will burn best if left to burn entirely during one session, though often times this is not feasible.
If the votive candle has less than 1/2″ remaining let it burn out completely as you will not be able to relight it if you extinguish it.
Keep the Wick Trimmed to 1/4″
It’s important to trim the wick during or immediately after burning your candle. The wick itself becomes potentially fragile when cooled due to the amount of beeswax still remaining in the wick. Trimming a cold wick may break the wick off, making relighting it difficult.
Properly Extinguish a Beeswax Votive Candle
The easy and smoke free way to extinguish votive candles is to gently push the wick into the wax pool until the candle is extinguished and then pull the wick straight. Avoid handling the wick after it is cooled as it may break.
Keeping the Wick Lit
If your votive wick has gotten too short try to expose fresh wick by melting the wax around the wick and pouring it off, or warming the wax and gently digging wax out from around the wick. Once fresh wick is exposed be sure to burn the candle for an hour or more to get the candle back in balance.